Wednesday, December 30, 2015

Make Art Every Day (MAED Project) - New Blocks


MAED Project - by Mary Lachman 

MAED Project - by Mary Lachman 
Add MAED Project. By Mary Lachman caption

Tuesday, December 29, 2015

Why Not Replace the Worn-Out Cuffs on a Sweater that You Love?

Sweaters are not knit like they used to be. And since it is difficult (and costly) to find a hand-knit 100% wool sweater that will keep you warm when the north wind blows, why not save you r old one and knit new cuffs for that vintage Norwegian!

This is the step-by-step process to do precisely that. This is my friend Ann Marie's sweater. You may recall that I replaced cuffs on a red sweater of hers a few weeks ago but that is the only other time I have done this. My point is that this is not rocket science.  If you understand how knit garments are made and have been knitting a little while you can do this. Remember it is not rocket science.
Take a good look at the old sweater cuff.
Count the stitches and write this number down on a piece of paper.
You will want to have the same number of stitches on the cuffs you knit.
Knit a swatch with the yarn you plan to use to replace the old cuffs. If the gauge does not match try a different size needle.  I used size 2 U.S. double-point knitting needles.
by Mary Lachman 
Pick a spot about 2 rows above the point where the cuff ribbing meets the arm of the sweater and the stockinette stitching begins. Cut off the old ribbing completely around. If needed hand-sew a guideline in for yourself and then cut.
by Mary Lachman 
Note that my cut edge is about 2 rows above the point where the ribbing ends and the stockinette stitch begins for the sleeve.
by Mary Lachman 

Pick up stitches with a crochet hook and the new yarn you will be using for the cuffs. I used a size 3/D U.S. hook.
(If you have never done this before there are many good videos on You Tube. Just search 'knitting pick up stitches'
by Mary Lachman 


Transfer the stitches from crochet hook to double-pointed needles. I used a size 2 U.S.
 by Mary Lachman 
Continue picking up and transferring stitches from crochet hook to double-pointed needles.
by Mary Lachman 
Knit 1 round. If you need to decrease stitches because you picked up more stitches than were in the old cuff just knit 2 stitches together on that round as needed.
Continue knitting ribbing (knit 1- purl 1 in this case) until the cuffs reach the proper length.
Bind off in a knit 1- purl 1 pattern all around. (This prevents the bind-off from flaring out.)Weave in the ends and you are done!
All Rights Reserved
Photos by Mary Lachman 

Wednesday, December 16, 2015

5 Tips to Make Art Every Day - The MAED Project

In order to maximize the time you make art you need to have a dedicated space to create whether it is a table in the corner or an entire room. Here are some tips.
1
1   1. FIND SPACE - Whether you can choose a corner of the kitchen counter or a table in the basement for art the important thing is to find space and reserve it for your creative process. When my children grew out of the playroom I moved from a table in the basement to a room upstairs. Initially I lined the walls with any tables or chests that I could find for storage but gradually I have been able to replace most of those with prefab cabinets. I continue to use two 4’x8’ tables (on risers) for layout and cutting fabric.


      2. GET ORGANIZED - It is important to organize. Keep like with like. Sort your fabric, paints, brushes into bins or cans and place them where you can find them. Some people are ‘everything out’ folks who want to see everything at a glance, and others are ‘everything in’ people who would rather see a clean surface when they look around. I am a person in between those two camps. I like things out for my current project but like extraneous items put away. Periodically I have to just clean up.

      3.  LEAVE IT OUT – I find it easier to dash in and work for 5-10 minutes if my supplies and equipment are ready to go.

      4. BLOCK OFF TIME – Pull out the calendar or agenda pad and block off some time for you. Yes for you. You are always putting someone else first and every day you deserve a little time to work on you. By taking care of your needs you will be able to take care of others.

      5. BATCH TASKS – Are there similar basic steps to create your art? Do you need to gesso canvases or cut squares of batting? Think about how you work and break the larger tasks down into smaller bits. Then even if you can’t complete a big project in 10-15 minutes at least you can be prepared for the next time you have an hour free.


The MAED Project


The MAED Project - Make Art Every Day

A few more photos!


Tuesday, December 1, 2015

Make Art Every Day

I celebrated my birthday in November and set a new goal for 2016.

I want to make a 5" block of textile art every day for 365 days.

Art Every Day.

I decided if I want to play I need to show up each and every day.  I think the advice given to writers about a daily jotting of 750-1000 words, so many have said artists should do the same.

I will post photos of my work each week on Facebook and Instagram.

Maybe you would like to join me!


Tuesday, November 24, 2015

Surprises in a Closet

I spent Sunday afternoon rewrapping my large quilts that were in the last show. All had been piled on my son's bed.  I suppose he probably deserves to sleep in his room over Thanksgiving break.

I rolled the large quilts on to cardboard tubes wrapped in white cotton sheets and placed them in a closet (on the floor like logs)...but only after I pulled out all the boxes and sewing machines (3), a flute, a box of old photos, several boxes of my mother's things and some old linens and doilies. I vacuumed and then wanted to quit but knew with the holiday coming quitting then would be a mistake.

Then one wonders why do we keep the things we do...hmm.  For me the time is not yet right. I have to hold on a bit longer. Memories. You get it.  There are memories of mine and my mother's in those boxes, and I think some of my great grandmother's as well.

Here is something else I found in the closet (in a box I had forgotten). A framed picture of Queen Victoria's wedding bonnet probably saved from my great grandmother Maria Laughead Jones's home along the Wabash River in Indiana.
Queen Victoria's Wedding Bonnet - front

Reverse side "Queen Victoria's Wedding Bonnet 1840"

What are you saving in the back of your closet?  And what have you being willing to give away?

(Just so you know, I did put the holiday cards from 2009-2011 in the recycling bin.....)


Wednesday, November 18, 2015

Rocket Science Quilters in Vermont


The Fullerton Inn in Chester, Vermont was the location of the first Rocket Science Quilters retreat.


Wednesday, November 11, 2015

What's on the Needles Wednesday

This is a scrappy short row shawl. Can you believe all of these different colors came from one skein of handspun?

Tuesday, November 10, 2015

Hexagons on the Wall


Last weekend at the first annual Rocket Science Quilters retreat in Vermont.  This design was inspired by fabric I was received as a present and a book by Maxine Rosenthal (One Block Wonders) These are 'duplicate' triangles pieced into hexagons.

There is a multitude of arrangements that are possible with the blocks. I just haven't figured out which arrangement I like best!

Monday, October 12, 2015

Three Tips for Free-Motion Quilting Success


I am teaching myself to free-motion quilt. This weekend I was playing with interlaced triangles as my motif atop hand-dyed, Paintstick embellished fabric.

I am working on a Husquavarna MegaQuilter. This machine goes forward and backward only, but it can go REALLY fast. I found this machine on eBay (yes I bought it sight-unseen) and watched the how-to video several times before I felt comfortable turning it on. (The back story on that is this is my newest machine---even though it was discontinued several years ago---so I was a bit shy about running it. It didn't help that the thread kept balling up on the back (operator error) and had to stop and untangle and rethread.

Now I am reasonably adept at threading and stitching and detangling. And there are 3 things I have learned that I want share with you.

3 Tips for Free-Motion Quilting Success

1. Secure the top and back to the batting. I use cotton/polyester batting and 505 Spray & Fix. I spray the fabric outside whenever possible and never use it in a closed space. If you don't want to use adhesive spray you could hand baste or pin layers with safety pins.

2.  Practice your motif on a scrap 'sandwich' first. This step can save you a lot of headache and prevent the rip-it, rip-it motion.

3. Wear quilting gloves. I never thought these little darlings would be SO helpful, but indeed they are. They increase the friction between you and your fabric sandwich and permit easy movement of the fabric around the needle. They are lightweight and inexpensive and worth every penny.


Thursday, October 1, 2015

You're Doing What?


This is a small artwork I just completed for the SAQA meeting later this month. I dyed the base fabric then embellished it using fabric paint and stencils (thank you Carol R. Eaton for suggestions and supplies) and then added more stitching.

See it up close in Simsbury!

Thursday, September 24, 2015

Farmington River - In Progress

My section of the map (#2)

River fabrics need to end within a certain area of the sides


What should the river edge look like?
Experimenting with 'thunderstorm' in upper left

Tuesday, September 22, 2015

Steeped in Stitches - Tea and Hats from the Phelps-Hatheway Exhibit in Suffield

r
Carol and Rosalind being silly
Nancy in the morning

The garden party tea prepared for us by Lynn at the Phelps-Hatheway House
Linda and her amazing hat
Some of the SAQA group gathered on Saturday morning

Wanda contemplating tea selections


Carol thinking about tea cakes!

Thursday, September 10, 2015

"Steeped in Stitches" Fiber Arts at the Phelps-Hatheway House in Suffield this Weekend

My art group and I have been busy preparing for our latest exhibit at the Phelps-Hatheway House in Suffield, Connecticut this weekend.  

I think it is odd that I grew up in Suffield, Ohio and have lived in Connecticut for 25+ years and yet only recently met folks from the Connecticut namesake. That's right, back in the 1800's there was a man named Royal Pease who left this state to head to Connecticut-owned-land in the midwest, the so-called "Connecticut Western Reserve". He settled about 60 miles south of Cleveland in Portage County and named his settlement Peasetown.  Later this town would be renamed Suffield. 
On this map the Connecticut Reserve is shown. It was also known as the Western Reserve. 

Suffield, Ohio is just south of Brimfield, Ohio and yes, you guessed it---folks from Brimfield, Massachusetts settled that region. And, of course, as you might guess, that region of northeast Ohio has many other towns with names of the New England counterparts like Amherst and Hudson.

Phelps-Hatheway House and Garden
55 South Main Street
Suffield, CT
"Steeped in Stitches" 
Saturday September 12th 10 am - 5 pm
Sunday, September 13th 10 am - 4 pm

Schedule includes:

  • Quilt Raffle
  • Lectures
  • Book signing Saturday @ 2:00 p.m.
  • Gift Baskets
  • Unique items for sale in the gift shop


Sunday, September 6, 2015

Expanding Surface Design Skills with Carol R. Eaton

There is nothing better than spending time with a good friend and if you can play with fabric at the same time it is a huge bonus.  

Yesterday was one of those days.  I spent the morning playing with fabric paint, stencils and leaves in the studio of Carol R. Eaton. Here are few before and after photos.

BEFORE - Castoff linen waiting to be UPCYCLED!
AFTER
I used a stencils for the map directions  and spots. The water-based fabric paint that dries to permanant color. The grids were created using wire ribbon and carpet padding.

BEFORE: Tie-dyed cotton from my stash that needed some umpf!

AFTER: You wouldn't guess it was the same fabric! The giant grape vine leaves (more than 8 inches) were used as stamps applying acrylic fabric paint to the reverse, more deeply veined side of the leaf, placed on the fabric and then pressed using a brayer. Additional colors were added using carpet padding and sponges as stamps.

Wednesday, September 2, 2015

Work in Progress - Wednesday- "Mitosis" by Mary Lachman

Today I am machine quilting a new textile artwork, "Mitosis".

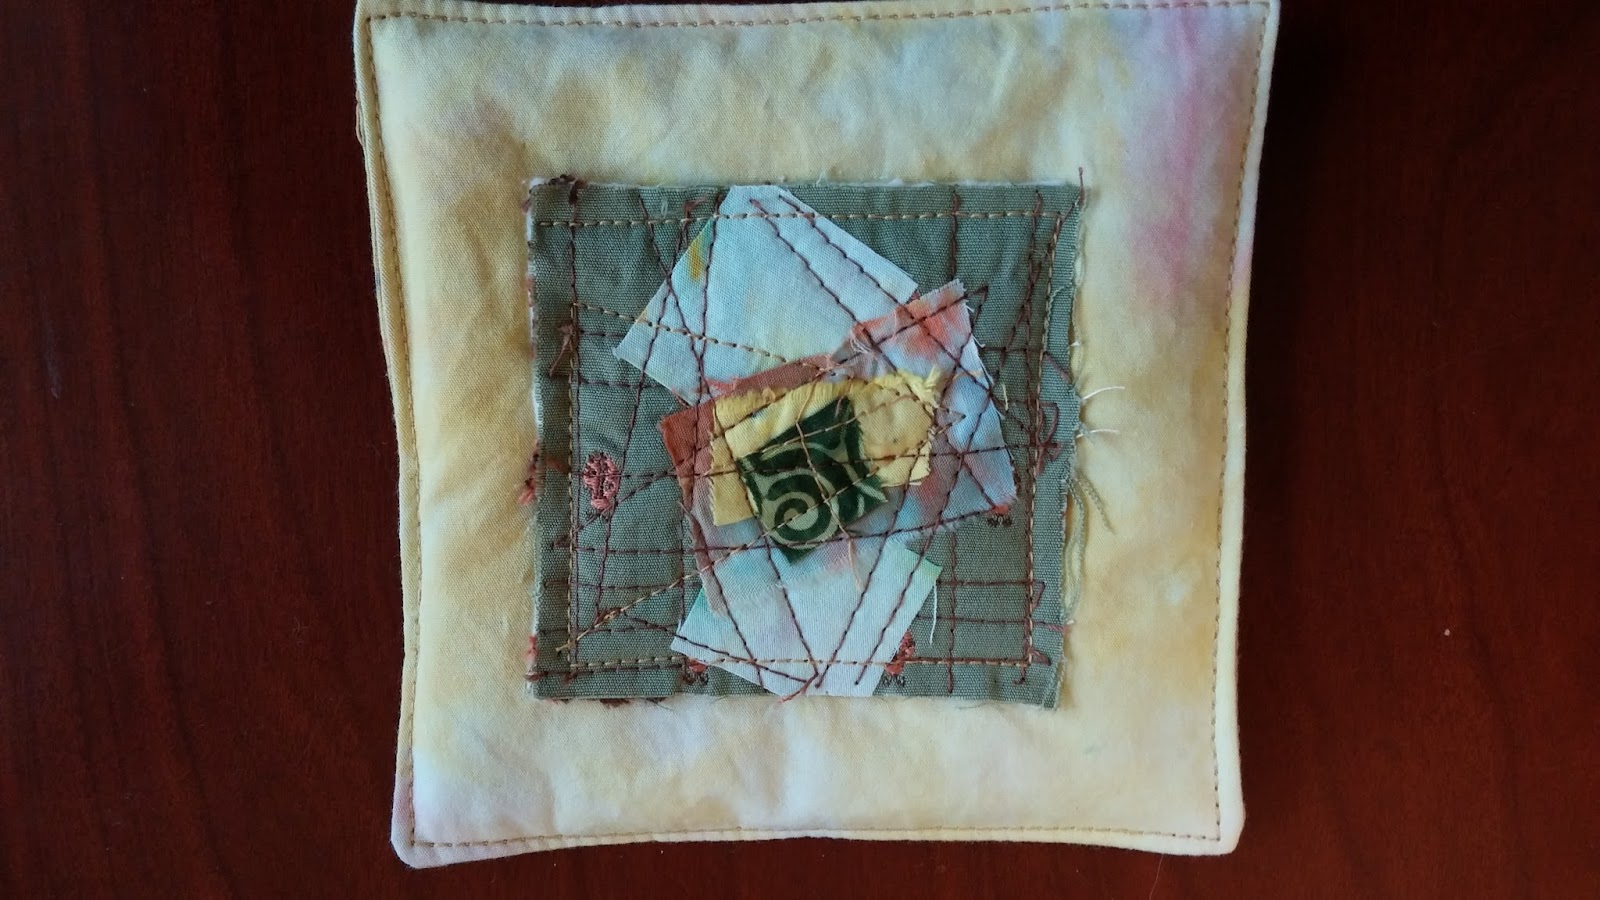
This is a small corner of the larger piece.

The blue fabric was hand-dyed with indigo using wood rounds and old CDs as resists.
The small panels were machine pieced and randomly sashed with a hand-dyed yellow cotton. 

Phelps-Hatheway House Exhibit - September 12-13, 2015


This is the inside of the Phelps-Hatheway Barn. My art group, the Connecticut Fiber Arts Collective and I are going to fill it up with more than 60 pieces of textile art in less than a month!

Come meet us and see the show:

Phelps-Hatheway House, Barn and Garden
55 South Main Street
Suffield, CT
Saturday and Sunday, September 12 and 13, 2015 10 a.m. to 4 p.m.

Saturday, August 29, 2015

Penny Rug Coasters by Mary Lachman - Quilting Arts Holiday


Run to your favorite book retailer to find the new issue of  Quilting Arts Holiday 

On page 35 you will find my pattern for Penny Rug Coasters. I developed this idea when I was asked to teach a workshop at a local art center. I wanted participants to use recycled/upcycled wool to create a make-and-take in the afternoon workshop.

These coasters are a simple design that you can stitch up easily in a spare hour. Just gather some cast off wool (I used clothing scraps that had been felted/shrunken using hot water in the washing machine), scissors and embroidery floss and get started. Use my pattern as is, or use it as a reference and create your own design.

You can order a copy online through Quilting Arts at the Interweave Store or at your favorite book retailer.


Summer Inspirations


Summer is a wonderful time of year to get away for the routine. This summer I had a chance to vacation on Lake Erie twice, and for me this is a huge plus. We return to a place I have gone to every summer for more than 50 years. And as usual, I pack more playthings (fabric, paint and wool) than clothing. (Who needs more than shorts and a swimsuit on vacation anyway?)

Besides making art I spend a lot of time outdoors biking, hiking, kayaking and bird watching. Here are a few outdoor photos.
Queen Anne's Lace

A view off the bow

Seagull taking flight

Horseshoe Lake - Kelleys

Deer on Harbor Lane

Creative Magic

In her book Big Magic , Elizabeth Gilbert (who is best known as the author of Eat, Pray, Love ) writes "I believe the creative process ...